Create a New User
BrightSide Support2024-04-10T16:06:21-04:00Summary
Anyone using your BrightSide account needs to have a username and password set up for them. Users are assigned to a “user type” which defines the level of access that they may have.
- Create a new user.
- Assign a “user type” corresponding to their role at your company.
- Create a password for a user.
Create a New User
Creating a new user in BrightSide is a quick and easy process. Users include owners, housekeepers, reservationists, managers, maintenance workers, etc. Be sure to create a user account for everyone in these roles.
HINT: Permission levels are controlled in “Permissions,” found in the main setup.
Navigate to: Setup > Users > Add
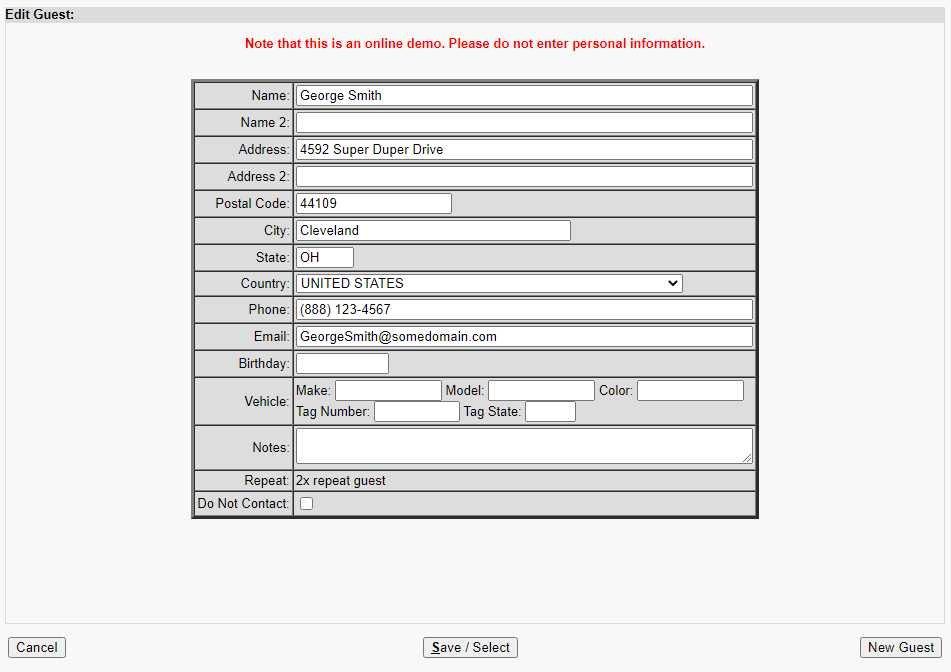
- Enter a unique username. Usually this is just the person’s first name. If you have more than one person with the same name, you may use last names, with or without spaces.
- Select the type user from the dropdown list. As mentioned earlier, user types include owners, housekeepers, reservationists, managers, maintenance workers, etc.
- Assign a password. Be sure to write it down so you can give it to the user.
HINT: When you add a new employee record, you will connect them to a user so they can sign in. Create the user first, then add the employee, it will save a step. Trust me on this.

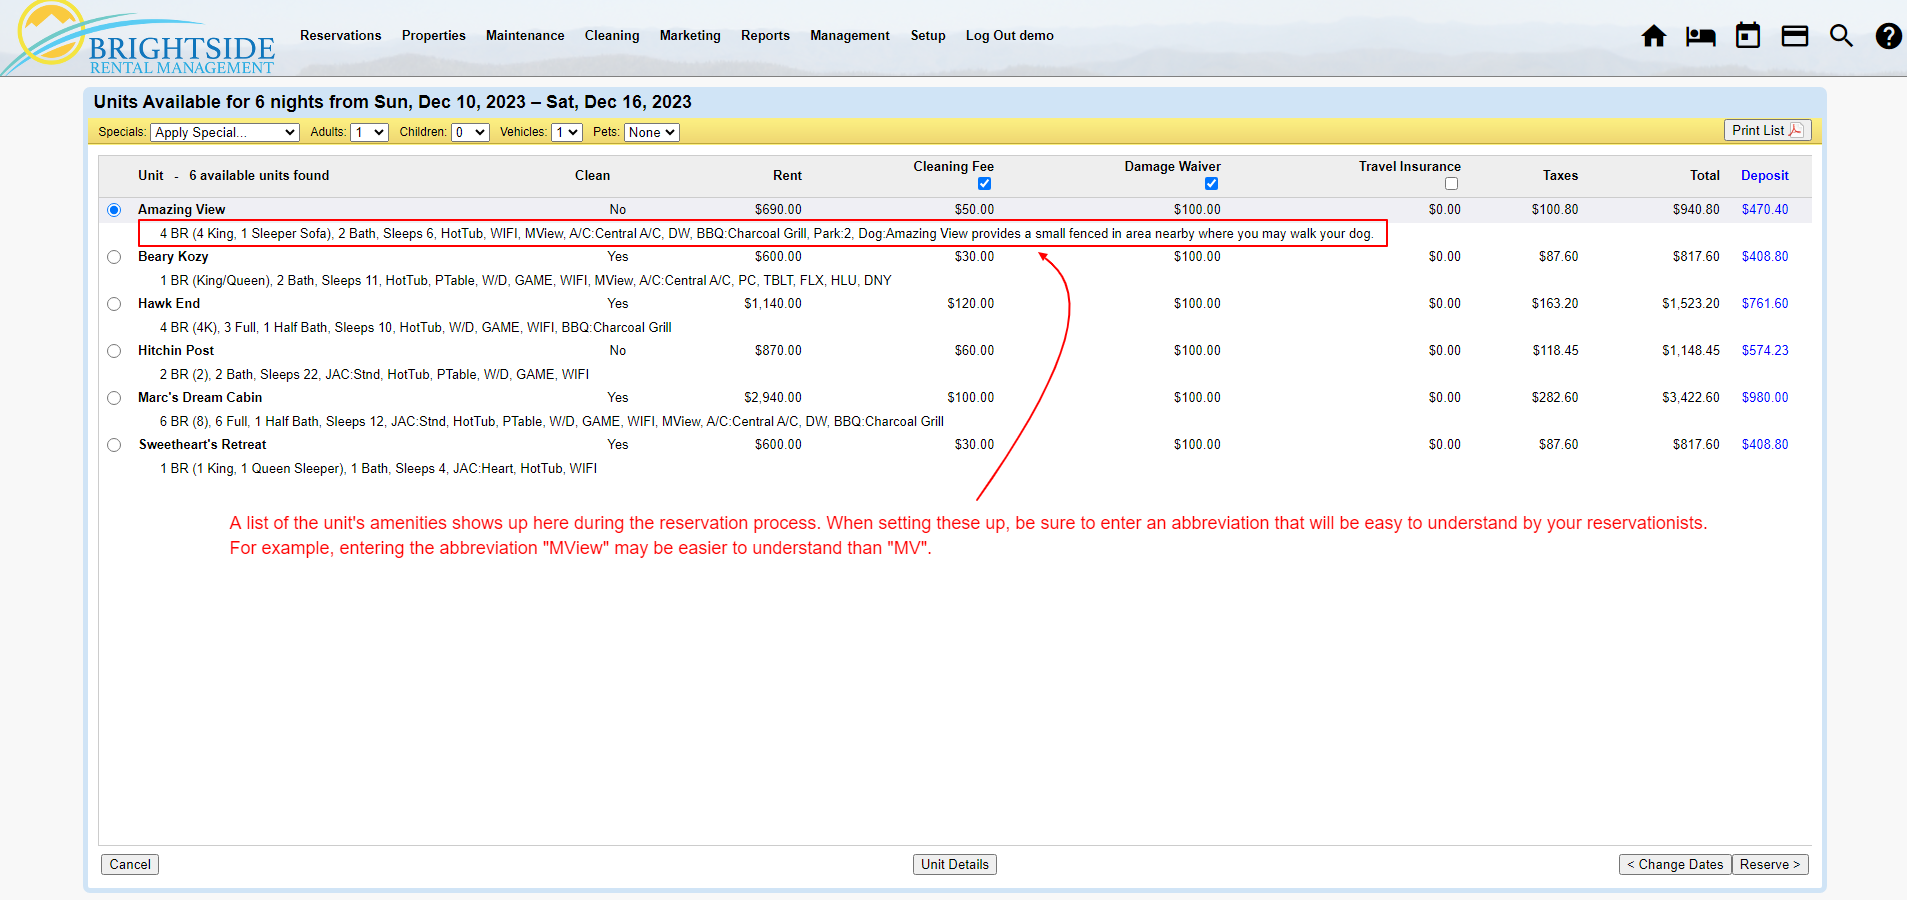
Click on Image for Enlarged View