Summary
In this brief Management Dashboard Overview, we will show you what to expect when you log in for the first time. We help you get acquainted with the main menu and the quick menu icons. For in-depth instructions, just follow the links provided for each topic.
- Introduction to the Management Dashboard
- Main Menu
- Quick Menu Icons
As a property manager, the management dashboard is where everything happens. After logging in, you may create and manage reservations, manage properties, add contractors, assign maintenance tasks, schedule cleaning, run reports, and so much more. We will go into more detail with each of the submenu items in separate articles and videos. For now, let’s just get an overview of the management dashboard.
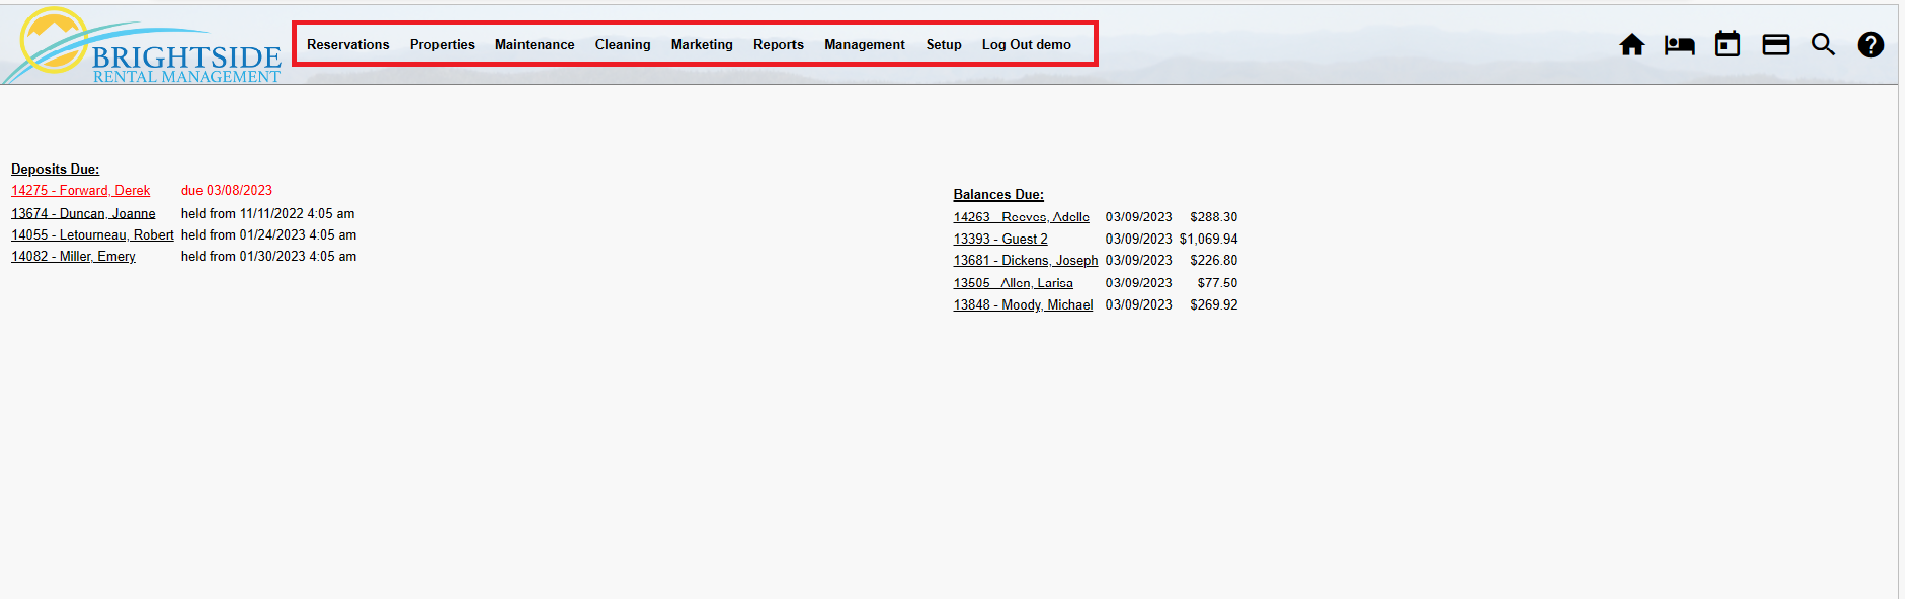
When you first log-in, you see a summary page that includes Deposits Due, Balances Due, Check-Ins, Check-Outs, etc. Each item links to the specific reservation to which it is associated. Clicking on the link allows you to view, edit, or take other actions on that reservation.
Main Menu
The management dashboard’s main menu includes the categories of Reservations, Properties, Maintenance, Cleaning, Marketing, Reports, Management, Setup, and Log Out (highlighted in red below). Each menu item drops down with a number of options from which to choose.
Click on Image for Enlarged View
Icon Menu
In the upper right corner, there are six “quick view” icons (highlighted in red). These are shortcuts to the most used features: Dashboard, New Reservation, Unit Calendar, New Sale, Reservation Search, and Support.
Click Image for Enlarged View
Home Icon
The “Home” icon takes you to the Dashboard summary page. This is where you begin each time you log in. When you need to return to this page, just click the home icon.
The example provided below includes only Deposits Due and Balances Due. Your dashboard may show items such as Pending Check-Ins, Unconfirmed Cancellations, Documents/Contracts Not Received, and a number of other lists.
Click Image for Enlarged View
Bed Icon
The “Bed” icon will take you to the “New Reservation” form. You may begin scheduling a reservation here. Just add the desired dates, the type of unit the guests want (i.e.: 1, 2, 3, or 4 bedrooms), and the features they are requesting. The system will pull up available units based on your criteria.
For more detailed information about this feature, and a video tutorial, go to “Create a New Reservation”.
Click Image for Enlarged View
Calendar Icon
The “Calendar” icon will take you to the Unit Calendar page. This page displays the calendar for units during a specific date range. You can see the names of the units on the left side of the calendar, the available dates with prices, and current reservations.
You may begin a reservation directly from the calendar by selecting available dates for a particular unit. You may filter results by ticking the amenities’ boxes above the calendar.
For more detailed information about this feature, and a video tutorial, go to “How to use the Unit Calendar”.
Click Image for Enlarged View
Credit Card Icon
The “Credit Card” icon takes you to the “New Sale” form where you may record cash payments or process credit card payments. Some BrightSide clients use this feature to process payments for miscellaneous charges. This is optional and is available for the asking. It will not automatically show up in your dashboard.
For more detailed information about this feature, and a video tutorial, go to “How to use the New Sale form”.
Click Image for Enlarged View
Magnifying Glass Icon
The “Magnifying Glass” icon will take you to the “Reservation Search” form. You may search using the reservation number, reference number, guest’s name, email, phone, arrival/departure dates, and unit.
For more detailed information about this feature, and a video tutorial, go to “How to use the Search Reservations form”.
Click Image for Enlarged View
Question Mark Icon
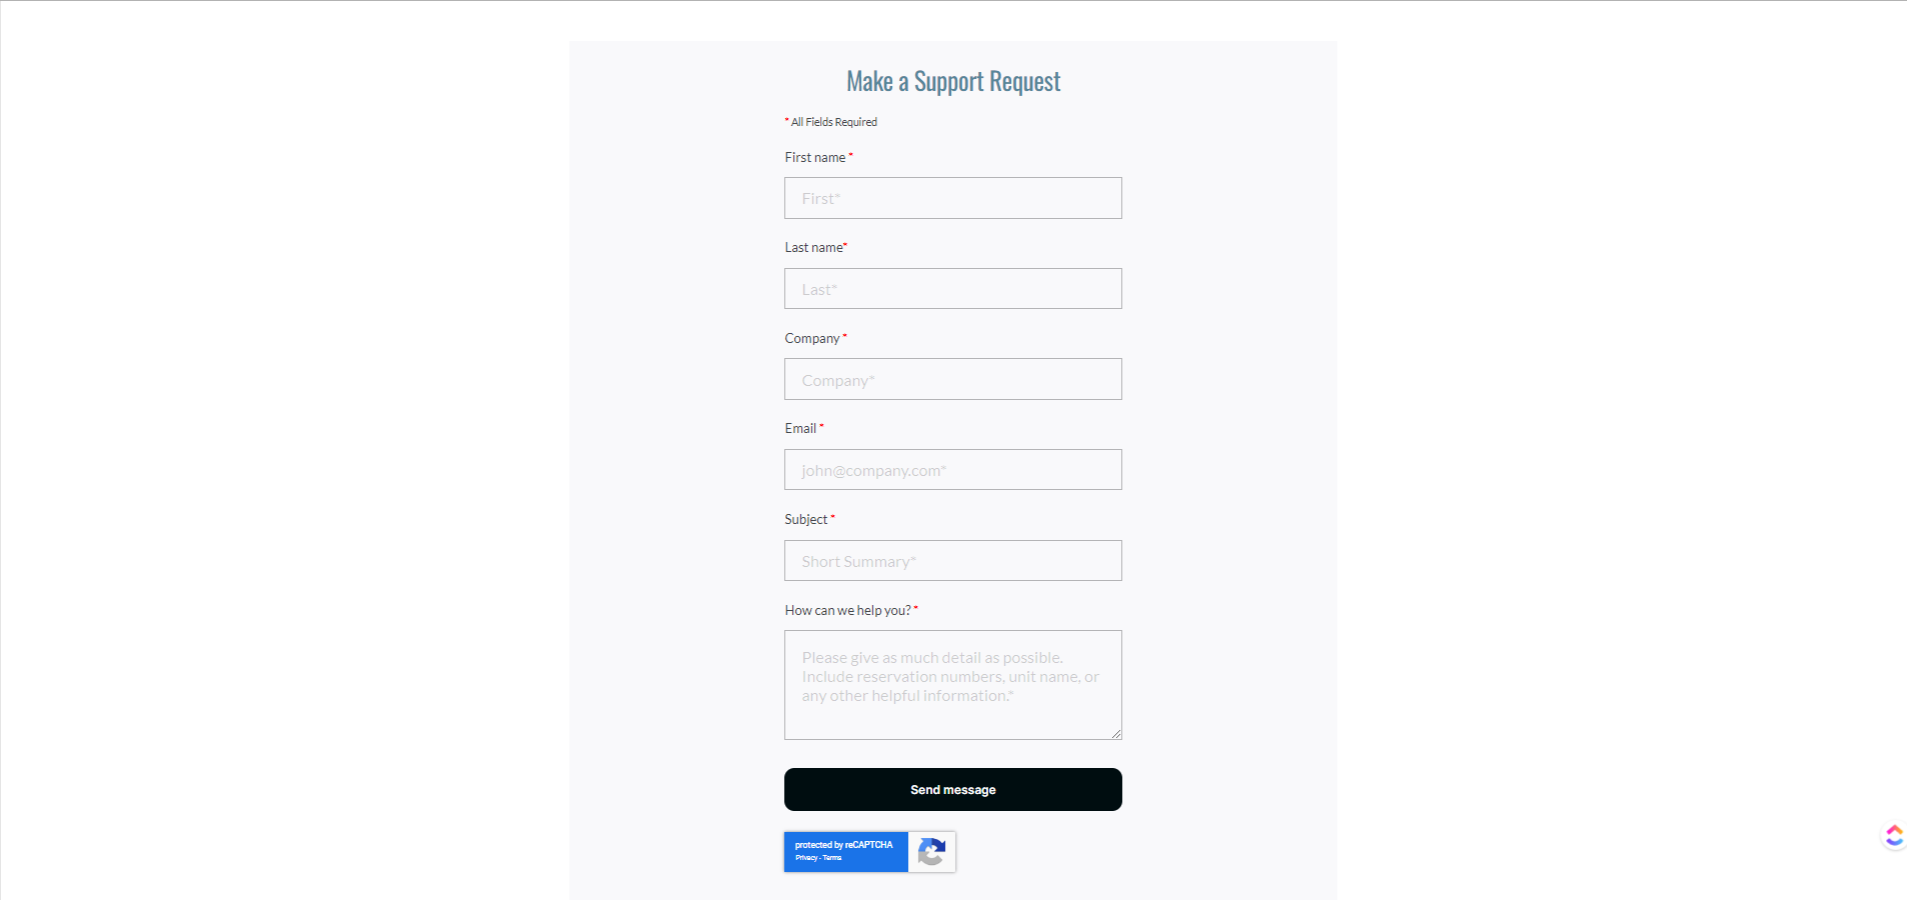
The “Question Mark” icon takes you directly to our “support request” form. When you encounter an issue with the software, or just need non-urgent help, click on the question mark and it will take you to our support request form (see the second image below). We respond quickly and it is an efficient and effective way to get the assistance you need.
Click Image for Enlarged View
Click Image for Enlarged View