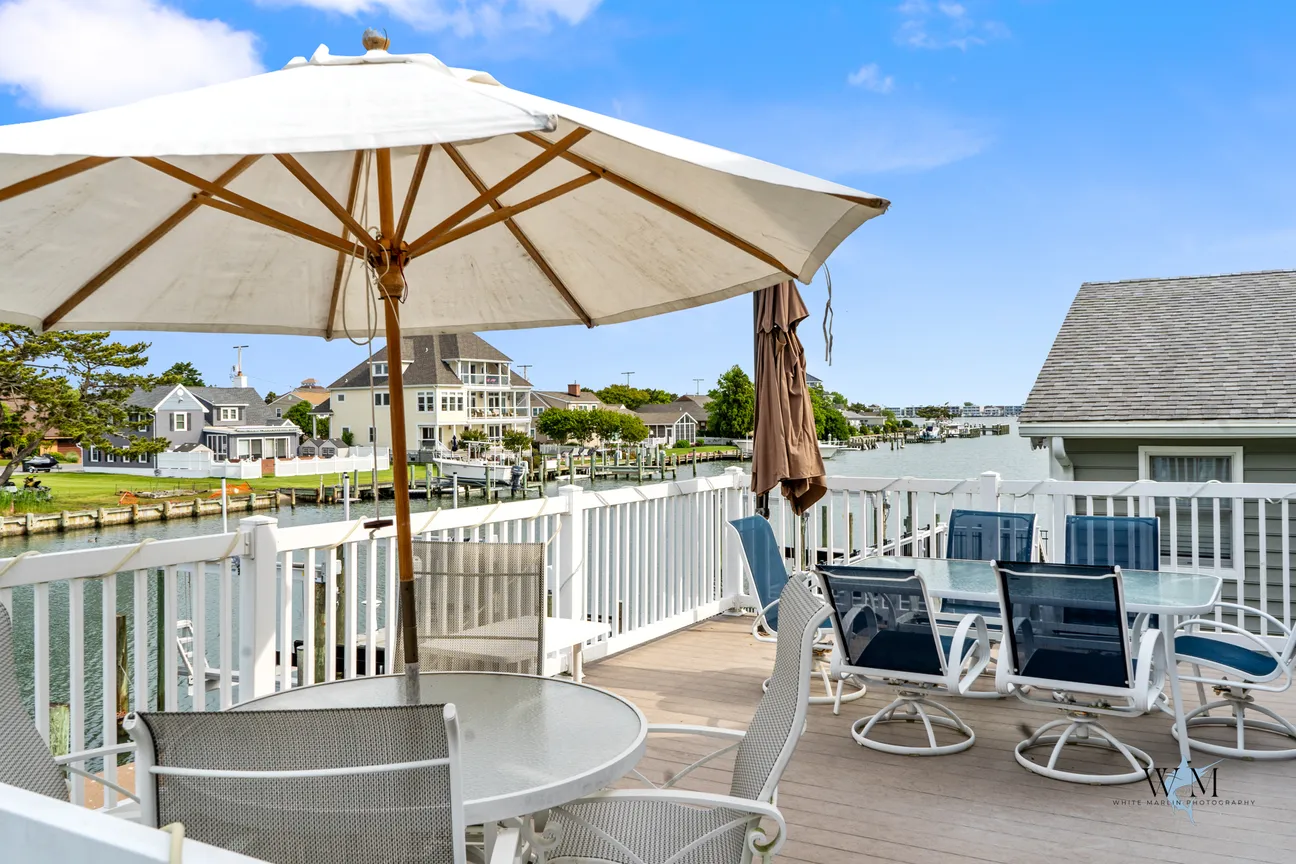
When it comes to Airbnb and Vrbo listings, your photos are the first impression potential guests have of your property. High-quality images are often the deciding factor for travelers choosing between similar listings. BrightSide created this comprehensive guide to taking amazing photos for your vacation rental.
1. Use a High-Quality Camera
Your photos need to stand out, and the quality of your camera plays a crucial role. Invest in a DSLR (Digital Single-Lens Reflex) camera or a high-quality smartphone camera.
- DSLR Camera: If you are familiar with DSLR, you may know a thing or two about creating quality images. The versatility of a DSLR camera provides sophisticated options for taking wide-angle, closeup, portraits, and low light images. If you have the skills and the budget, utilize the DSLR. If the DSLR is intimidating, or out of your price range, use a newer smartphone.
- Smartphones: Newer smartphones have high resolution photo capabilities. Ensure the resolution of your photos is at least 1024 x 683 pixels, so they look crisp and professional on online platforms. Don’t be afraid to use the highest quality setting on your camera. New iPhone 15 and 16 models take images of 6,000 x 4,000 (24 MP) by default and can be increased to 48 MP. While this may be excessive, images can always be downsized, but never enlarged. Start off with a great, high definition image.
- Tripods: Consider using a tripod to keep your camera steady and achieve sharp images. A tripod is especially helpful in low-light conditions or when taking wide-angle shots.
- Drones: Depending on your local laws, you may use a drone to capture overhead shots, wide angle views, and exterior images that are captivating.
No matter which device you use to capture your images, remember to avoid grainy or blurry images that can turn potential guests away.
2. Focus on Lighting
Good lighting is essential for creating inviting and bright photos. Your photos need to highlight the space and good lighting allows you to do that more effectively.
- Shoot during the day: Natural light is your best friend. Open all curtains and blinds to let in as much light as possible.
- Avoid harsh shadows: Cloudy days can provide soft, even lighting, while direct sunlight might create unwanted shadows.
- Add artificial light: Supplement with lamps or soft lighting to brighten darker areas of your home. Consider using daylight bulbs to maintain a natural and consistent color tone.
Experiment with different times of day to find the best lighting for each room. Early morning and late afternoon often provide the most flattering light.
3. Stage the Space
Preparation is key. A well-staged space feels more welcoming and allows potential guests to imagine themselves there.
- Clean thoroughly: Make sure every corner is spotless. Pay special attention to reflective surfaces like mirrors and windows to avoid smudges.
- Declutter: Remove personal items and unnecessary objects to make the space feel open and inviting. Tidy up cables, books, and other small items that can create visual noise.
- Decorate: Add small touches like fresh flowers, neatly arranged throw pillows, and folded blankets to create a cozy ambiance. Consider adding props like a tray with coffee cups or a bottle of wine to enhance the setting.
- Wall Decorations: Bare walls are a turnoff and can make a room uninviting and sterile. Showcase local artists by placing size-appropriate paintings or prints on the walls. Framed landscape images are appealing, especially if they are of the local area. Mirrors are a good option and can make a smaller room appear larger when placed correctly. Don’t underestimate the appeal of great wall decorations.
Take a test photo after staging to ensure everything looks as intended. Small adjustments can make a big difference.
4. Highlight Key Features
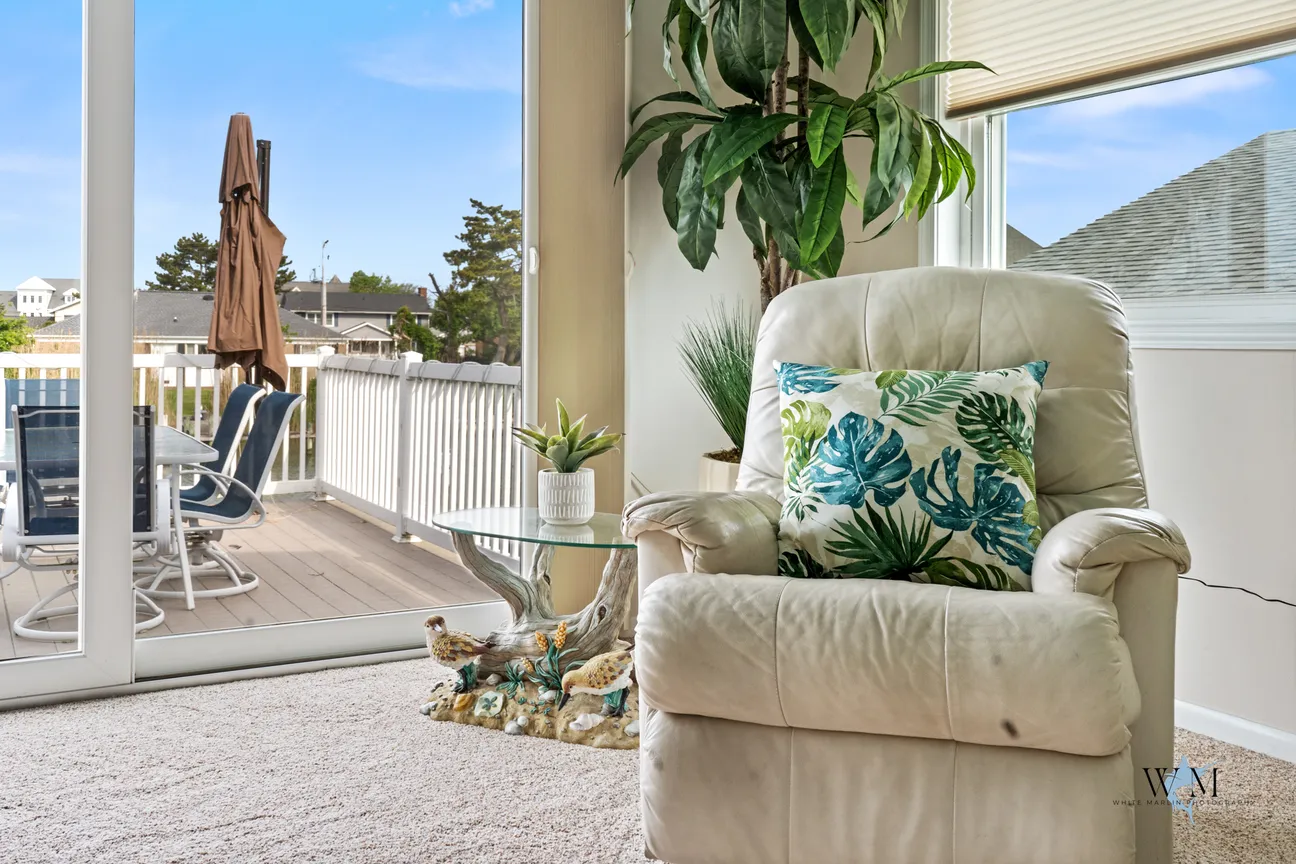
Showcase the unique aspects of your property that make it stand out. What keeps your guests coming back? Is it the chef’s kitchen, the swimming pool, or the outdoor entertaining area? Be sure to include photos of what people praise in their reviews.
- Living areas: Emphasize comfort and style by photographing cozy seating and thoughtful decor. Include details like bookshelves, artwork, or unique furniture pieces.
- Bedrooms: Neatly made beds with fresh linens make a great impression. Fluff pillows and use neutral or inviting colors to enhance the visual appeal.
- Kitchen: Highlight modern appliances, countertops, and the overall cleanliness. Show a well-organized space by clearing counters and adding small touches like a bowl of fruit or a coffee maker.
- Bathrooms: Sparkling clean fixtures and neatly folded towels are a must. Add a decorative soap dish, candles, or a small plant for a luxurious touch.
- Outdoor spaces: Don’t forget to capture patios, balconies, gardens, or any stunning views. If your property has unique outdoor features like a fire pit, pool, or barbecue area, make sure to include those as well.
5. Take Photos from the Right Angles
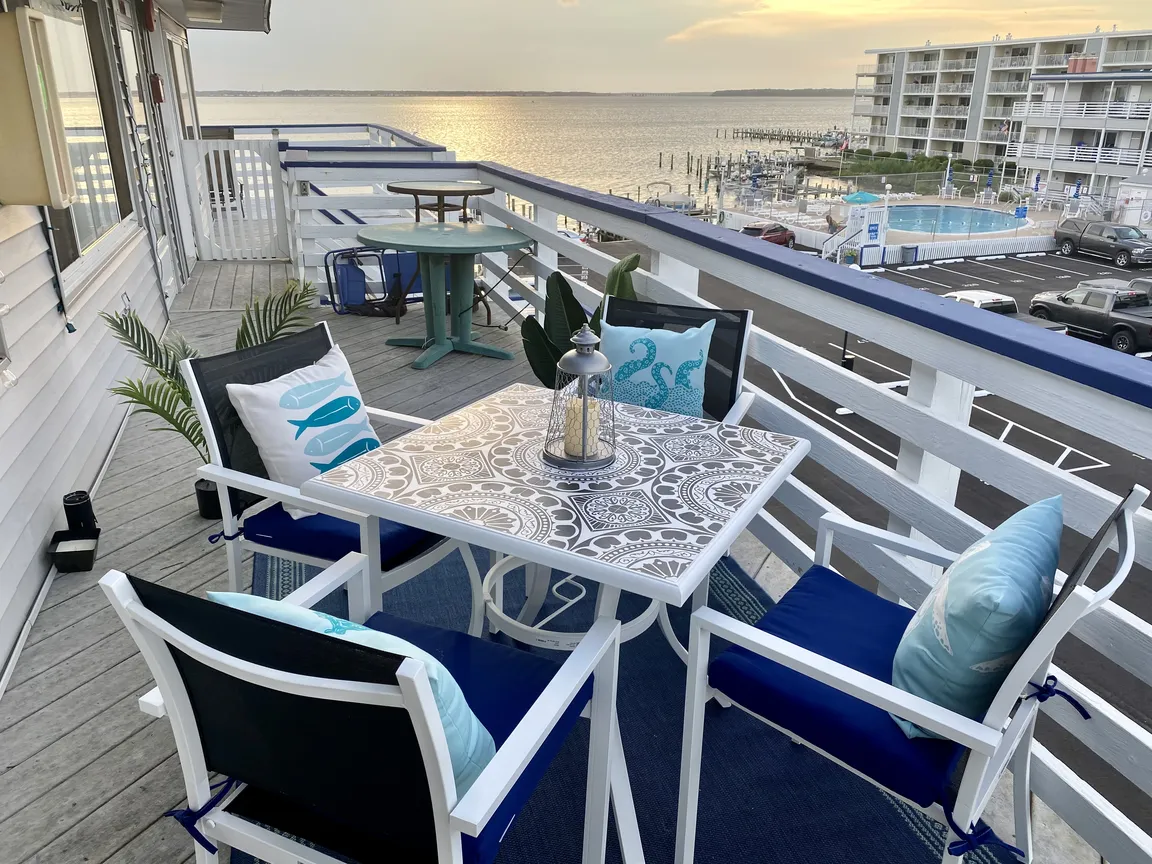
Angles and composition can make or break your photos. Take an abundance of photos from different angels and pick one or two of the best shots.
- Landscape: Images should ALWAYS be landscape and not vertical. Just forget you can take vertical shots. Please.
- Wide shots: Use a wide-angle lens to capture more of each room and make the space feel expansive. Avoid overusing wide angles as they can distort the room’s proportions.
- Eye-level shots: Shoot photos at eye level to provide a natural and comfortable perspective. Avoid extreme angles that might make the space feel awkward.
- Balanced composition: Frame the shots to include key details, keeping lines straight and ensuring symmetry. Use the rule of thirds to create visually pleasing compositions.
Take multiple shots from different angles to ensure you capture the best perspective. This variety gives you more options to choose from when editing.
6. Include Lifestyle Shots
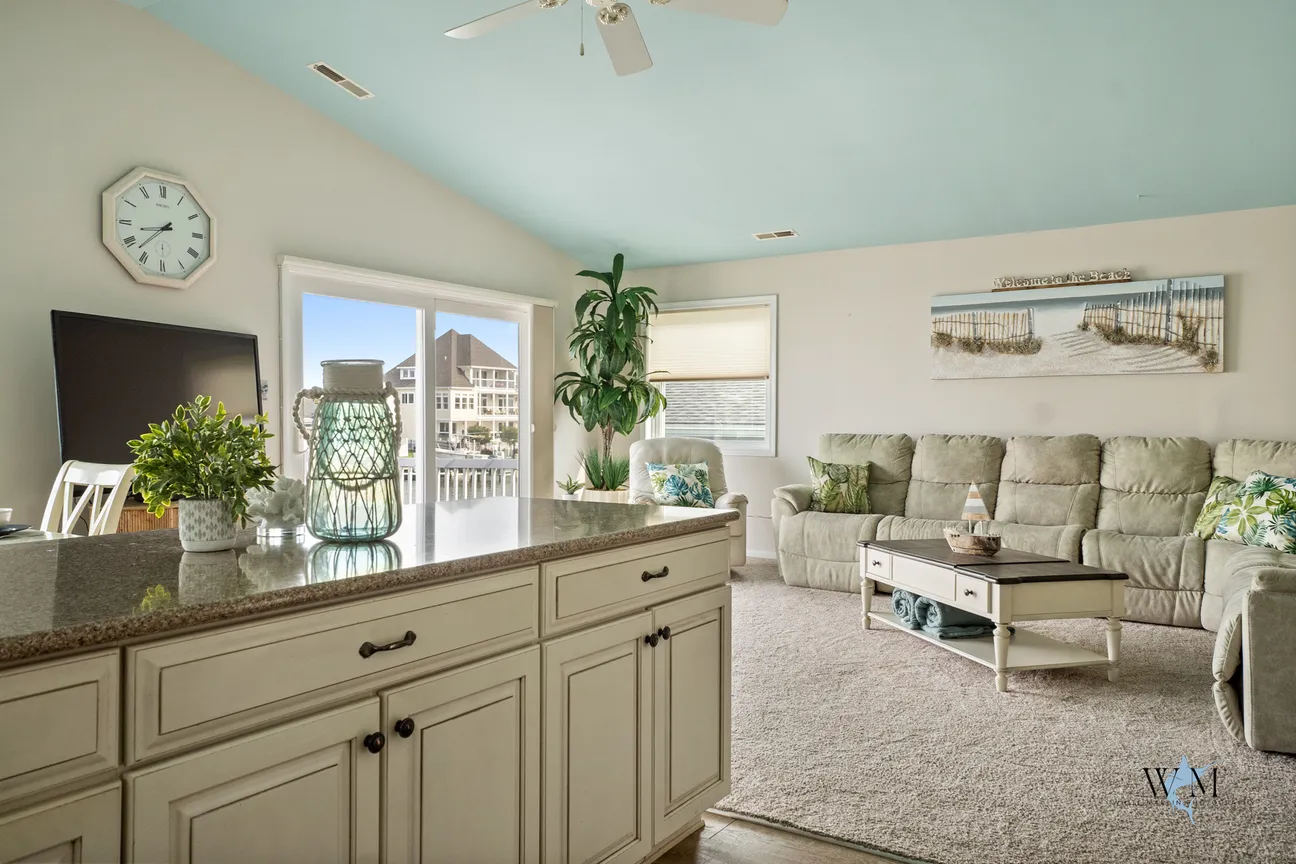
Bring your space to life with lifestyle photos that show how guests can enjoy it. Airbnb especially loves to show lifestyle photos. What is a lifestyle photo? Here are some examples:
- A reading nook with a book and coffee mug.
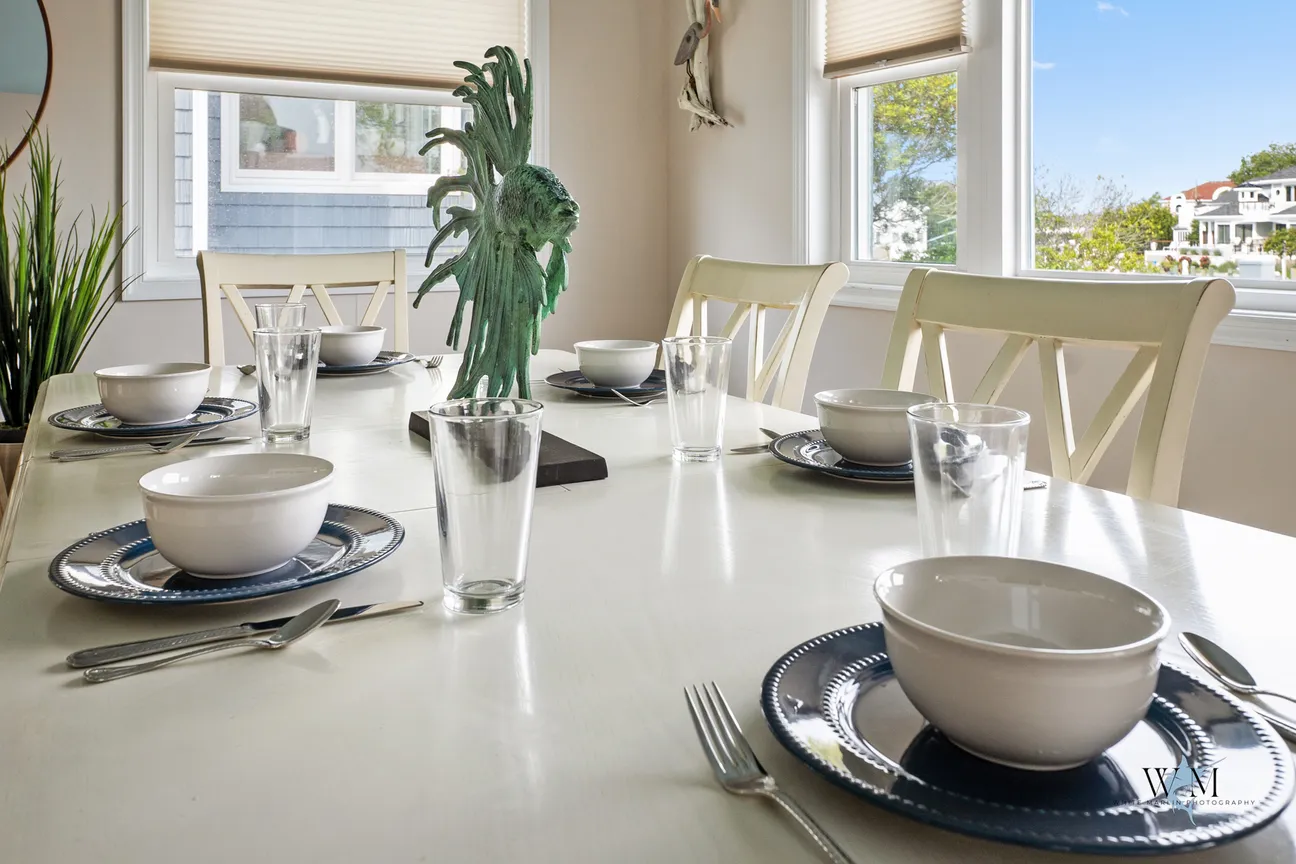
- A dining table set for a meal. You can even take a really tight photo of just a beautiful place setting.
- Outdoor seating showcasing a cozy evening vibe with string lights.
- A closeup of a picture or painting on the wall.
- A closeup of a coffee pot and mug.
These shots allow guests to imagine themselves enjoying the space. You can also include seasonal or holiday touches, like a festive table setting or a cozy blanket near a fireplace, to add warmth and charm.
7. Showcase the Location
Your property’s surroundings can be just as important as the space itself. Include a few photos of nearby places of interest.
- Nearby attractions, such as beaches, parks, or entertainment venues.
- Beautiful views, like mountain landscapes or city skylines.
- Local landmarks or notable areas close to your property.
Provide context by mentioning proximity to these features in your photo captions. For example, “Just a 5-minute walk to the beach!”
8. Edit but Keep It Real
Editing can enhance your photos, but authenticity is key. Use photo editing software to adjust brightness, contrast, and saturation. Crop out distracting elements and straighten lines to improve composition.
However, avoid over-editing or altering colors in a way that misrepresents your property. Guests appreciate photos that accurately reflect what they’ll experience. Use free tools like Canva or Snapseed for subtle and professional-looking edits.
9. Use a Logical Order
Arrange your photos in a sequence that mirrors how guests will experience your property. Determining the order of your photos is as important as the quality of your images. Remember, the first five images are featured on your Airbnb and Vrbo listing.
- Conventional wisdom says to start with an exterior shot that showcases the property’s curb appeal. However, some experts suggest that guests are not really interested in the exterior of the building, so they recommend placing exterior shots at the end. If you take this route, start off with your best photo of the interior space. Draw them into the experience of staying at your property by highlighting where they will sleep, entertain, relax, and cook.
- Progress through common areas, bedrooms, and amenities.
- End with outdoor spaces, the entrance, and location highlights.
This logical flow helps guests envision their stay and makes the listing feel cohesive and intuitive.
10. Follow Platform-Specific Guidelines
Each platform has its nuances, so cater your photos accordingly:
- Airbnb: Include at least 20 photos, ensuring you include every room and major feature. Airbnb guests often value unique decor and cozy touches. Consider adding captions to highlight specific features.
- Vrbo: Focus on family-friendly or group-oriented amenities. Make sure the cover photo is inviting, as it’s the first thing potential guests will see. Emphasize larger spaces like living rooms and dining areas for group bookings.
Check each platform’s guidelines for specific photo dimensions, aspect ratios, and recommendations to ensure your listing stands out.
By following these best practices, you can create a visually compelling listing that attracts more guests and earns rave reviews. Remember, your photos are more than just images—they’re your property’s first impression. Make it count!
All photos by White Marlin Property Services. Used with Permission.

Great Location Photo
Image by White Marlin Property Services. Used with Permission.
When it comes to Airbnb and Vrbo listings, your photos are the first impression potential guests have of your property. High-quality images are often the deciding factor for travelers choosing between similar listings. BrightSide created this comprehensive guide to taking amazing photos for your vacation rental.
1. Use a High-Quality Camera
Your photos need to stand out, and the quality of your camera plays a crucial role. Invest in a DSLR (Digital Single-Lens Reflex) camera or a high-quality smartphone camera.
- DSLR Camera: If you are familiar with DSLR, you may know a thing or two about creating quality images. The versatility of a DSLR camera provides sophisticated options for taking wide-angle, closeup, portraits, and low light images. If you have the skills and the budget, utilize the DSLR. If the DSLR is intimidating, or out of your price range, use a newer smartphone.
- Smartphones: Newer smartphones have high resolution photo capabilities. Ensure the resolution of your photos is at least 1024 x 683 pixels, so they look crisp and professional on online platforms. Don’t be afraid to use the highest quality setting on your camera. New iPhone 15 and 16 models take images of 6,000 x 4,000 (24 MP) by default and can be increased to 48 MP. While this may be excessive, images can always be downsized, but never enlarged. Start off with a great, high definition image.
- Tripods: Consider using a tripod to keep your camera steady and achieve sharp images. A tripod is especially helpful in low-light conditions or when taking wide-angle shots.
No matter which device you use to capture your images, remember to avoid grainy or blurry images that can turn potential guests away.
2. Focus on Lighting
Good lighting is essential for creating inviting and bright photos. Your photos need to highlight the space and good lighting allows you to do that more effectively.
- Shoot during the day: Natural light is your best friend. Open all curtains and blinds to let in as much light as possible.
- Avoid harsh shadows: Cloudy days can provide soft, even lighting, while direct sunlight might create unwanted shadows.
- Add artificial light: Supplement with lamps or soft lighting to brighten darker areas of your home. Consider using daylight bulbs to maintain a natural and consistent color tone.
Experiment with different times of day to find the best lighting for each room. Early morning and late afternoon often provide the most flattering light.
3. Stage the Space
Preparation is key. A well-staged space feels more welcoming and allows potential guests to imagine themselves there.
- Clean thoroughly: Make sure every corner is spotless. Pay special attention to reflective surfaces like mirrors and windows to avoid smudges.
- Declutter: Remove personal items and unnecessary objects to make the space feel open and inviting. Tidy up cables, books, and other small items that can create visual noise.
- Decorate: Add small touches like fresh flowers, neatly arranged throw pillows, and folded blankets to create a cozy ambiance. Consider adding props like a tray with coffee cups or a bottle of wine to enhance the setting.
- Wall Decorations: Bare walls are a turnoff and can make a room uninviting and sterile. Showcase local artists by placing size-appropriate paintings or prints on the walls. Framed landscape images are appealing, especially if they are of the local area. Mirrors are a good option and can make a smaller room appear larger when placed correctly. Don’t underestimate the appeal of great wall decorations.
Take a test photo after staging to ensure everything looks as intended. Small adjustments can make a big difference.
4. Highlight Key Features
Showcase the unique aspects of your property that make it stand out. What keeps your guests coming back? Is it the chef’s kitchen, the swimming pool, or the outdoor entertaining area? Be sure to include photos of what people praise in their reviews.
- Living areas: Emphasize comfort and style by photographing cozy seating and thoughtful decor. Include details like bookshelves, artwork, or unique furniture pieces.
- Bedrooms: Neatly made beds with fresh linens make a great impression. Fluff pillows and use neutral or inviting colors to enhance the visual appeal.
- Kitchen: Highlight modern appliances, countertops, and the overall cleanliness. Show a well-organized space by clearing counters and adding small touches like a bowl of fruit or a coffee maker.
- Bathrooms: Sparkling clean fixtures and neatly folded towels are a must. Add a decorative soap dish, candles, or a small plant for a luxurious touch.
- Outdoor spaces: Don’t forget to capture patios, balconies, gardens, or any stunning views. If your property has unique outdoor features like a fire pit, pool, or barbecue area, make sure to include those as well.
5. Take Photos from the Right Angles
Angles and composition can make or break your photos. Take an abundance of photos from different angels and pick one or two of the best shots.
- Landscape: Images should ALWAYS be landscape and not vertical. Just forget you can take vertical shots. Please.
- Wide shots: Use a wide-angle lens to capture more of each room and make the space feel expansive. Avoid overusing wide angles as they can distort the room’s proportions.
- Eye-level shots: Shoot photos at eye level to provide a natural and comfortable perspective. Avoid extreme angles that might make the space feel awkward.
- Balanced composition: Frame the shots to include key details, keeping lines straight and ensuring symmetry. Use the rule of thirds to create visually pleasing compositions.
Take multiple shots from different angles to ensure you capture the best perspective. This variety gives you more options to choose from when editing.
6. Include Lifestyle Shots
Bring your space to life with lifestyle photos that show how guests can enjoy it. Airbnb especially loves to show lifestyle photos. What is a lifestyle photo? Here are some examples:
- A reading nook with a book and coffee mug.
- A dining table set for a meal. You can even take a really tight photo of just a beautiful place setting.
- Outdoor seating showcasing a cozy evening vibe with string lights.
- A closeup of a picture or painting on the wall.
- A closeup of a coffee pot and mug.
These shots allow guests to imagine themselves enjoying the space. You can also include seasonal or holiday touches, like a festive table setting or a cozy blanket near a fireplace, to add warmth and charm.
7. Showcase the Location
Your property’s surroundings can be just as important as the space itself. Include a few photos of nearby places of interest.
- Nearby attractions, such as beaches, parks, or entertainment venues.
- Beautiful views, like mountain landscapes or city skylines.
- Local landmarks or notable areas close to your property.
Provide context by mentioning proximity to these features in your photo captions. For example, “Just a 5-minute walk to the beach!”
8. Edit but Keep It Real
Editing can enhance your photos, but authenticity is key. Use photo editing software to adjust brightness, contrast, and saturation. Crop out distracting elements and straighten lines to improve composition.
However, avoid over-editing or altering colors in a way that misrepresents your property. Guests appreciate photos that accurately reflect what they’ll experience. Use free tools like Canva or Snapseed for subtle and professional-looking edits.
9. Use a Logical Order
Arrange your photos in a sequence that mirrors how guests will experience your property. Determining the order of your photos is as important as the quality of your images. Remember, the first five images are featured on your Airbnb and Vrbo listing.
- Conventional wisdom says to start with an exterior shot that showcases the property’s curb appeal. However, some experts suggest that guests are not really interested in the exterior of the building, so they recommend placing exterior shots at the end. If you take this route, start off with your best photo of the interior space. Draw them into the experience of staying at your property by highlighting where they will sleep, entertain, relax, and cook.
- Progress through common areas, bedrooms, and amenities.
- End with outdoor spaces, the entrance, and location highlights.
This logical flow helps guests envision their stay and makes the listing feel cohesive and intuitive.
10. Follow Platform-Specific Guidelines
Each platform has its nuances, so cater your photos accordingly:
- Airbnb: Include at least 20 photos, ensuring you include every room and major feature. Airbnb guests often value unique decor and cozy touches. Consider adding captions to highlight specific features.
- Vrbo: Focus on family-friendly or group-oriented amenities. Make sure the cover photo is inviting, as it’s the first thing potential guests will see. Emphasize larger spaces like living rooms and dining areas for group bookings.
Check each platform’s guidelines for specific photo dimensions, aspect ratios, and recommendations to ensure your listing stands out.
By following these best practices, you can create a visually compelling listing that attracts more guests and earns rave reviews. Remember, your photos are more than just images—they’re your property’s first impression. Make it count!


